Step by step guide
Premium/Basic Patio Cleaner: Replace Rotor & Nozzles

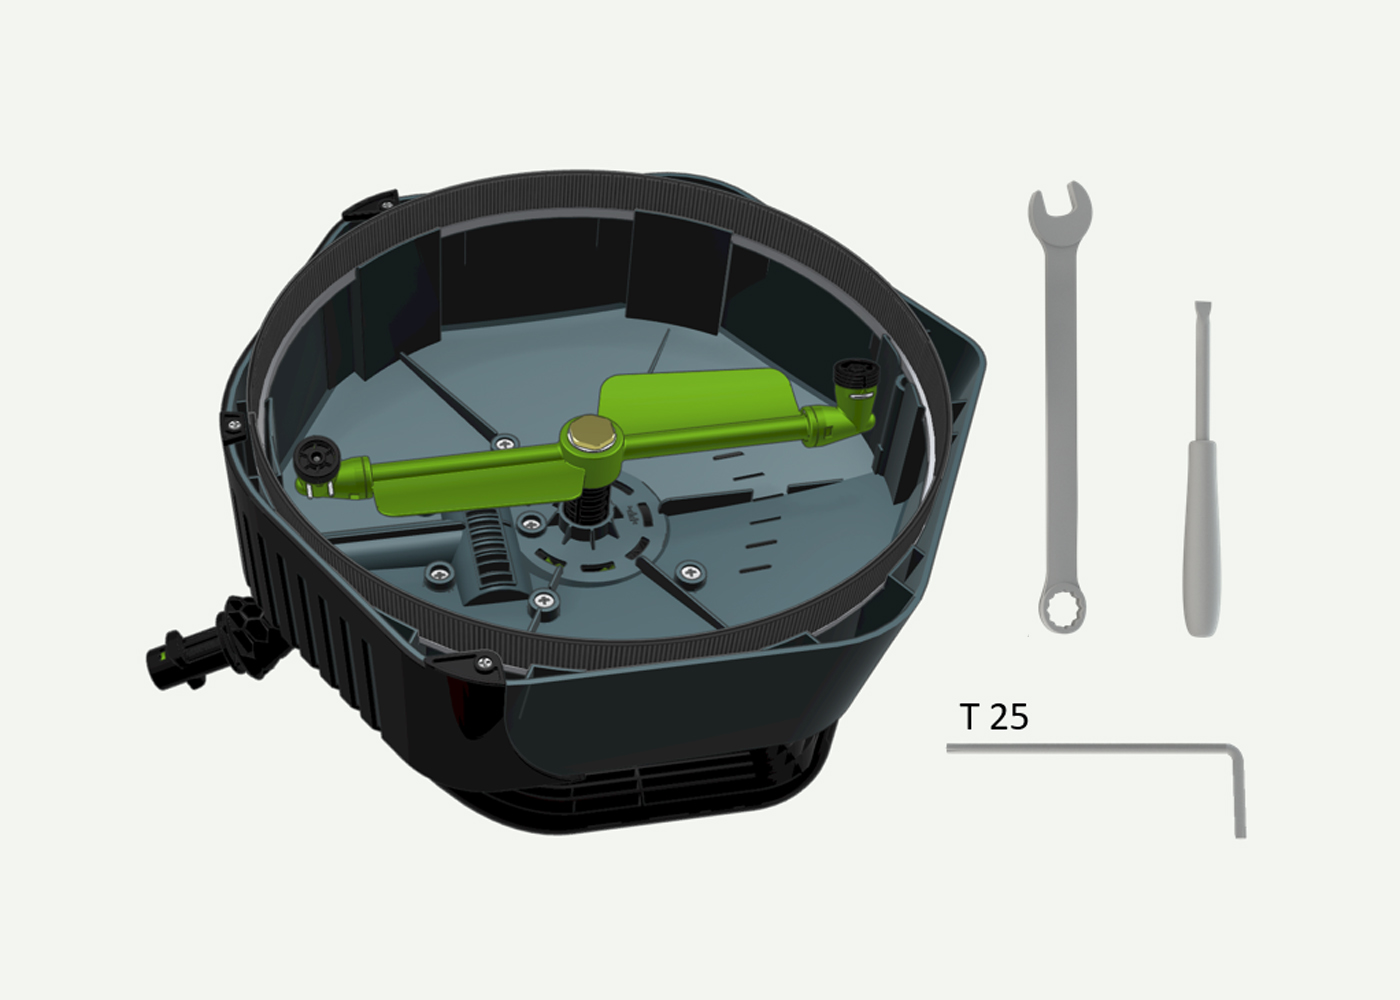
Patio cleaner repair kit, fits Basic and Premium (SKU: 980-103-01). Patio cleaner nozzle kit, fits Basic and Premium (SKU: 980-104-01) Learn how to easily replace the Rotor and Nozzles on your Patio Cleaner with this step-by-step guide. All you need are Torx 25, a spanner 20mm and a flathead screwdriver, or similar tools. Safety first! To prevent any accidents, ensure that your Patio Cleaner is disconnected from your pressure washer.
1. Overview of components.
a) Brass swivel:
b) PTF seal
c) Plastic shims
d) Main rotor
e) Brass sleeve
f) O-ring (16*1,8 NBR 90)
g) Flat fan nozzle
h) O-ring: (5,3*1,6 NBR 90)
i) U-pin for patio nozzle

2. Remove Brass Swivel
Use a 20mm spanner or similar tool to unscrew the Brass Swivel.

3. Pull Rotor out of swivel
Be mindful of the two loose plastic shims when lifting the rotor.

4. Remove nozzle
a)Use a flat screwdriver or similar tool to tilt out the U-pin.
b)Insert the flat screwdriver gently between the nozzle and rotor, and tilt or twist the screwdriver so that the nozzle is pushed outward.
c)Pull the nozzle out of the rotor.

5. Install nozzle
If the nozzle is used, it's wise to check if there is dirt in the nozzle. Inspect the nozzle for foreign objects. Optionally, blow into the nozzle to check if it is blocked. Remove foreign objects with a needle.
a)Press the nozzle into the rotor until it stops. Remember to Check the O-ring for visual damage.
b)Align the arrow on the nozzle with the arrow on the rotor.
c)Press the U-Pin all the way through.

6. Install Rotor
Assemble the Rotor in the following sequence:
a) Plastic shims
b) Rotor with Brass Sleeve. Remember to check the PTF seals for visual damage.
c) Plastic shims
d) Brass Swivel. Remember to check the PTF seals for visual damage.
